These are the instructions for the original TUGEYEs recommended for Royalex and Rotomoldeded Polyethylene canoes.
For the installation instructions for TUGEYE2's used for closed hulls and composite boats, Click here.
Tools needed:
Pen, Knife, Tape measure, and Drill with a 5/8 inch spade drill bit (This bit can be purchased for a few dollars at any hardware store if you don't have one.) The installation kit comes with an insertion tool, screw, and hex wrench.Nine Quick Steps to Install your TUGEYE
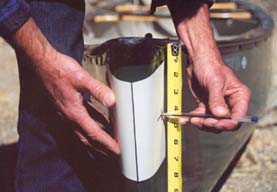 Figure A: Marking hole locations with template |
(2) Mark through template. Double check your marks!
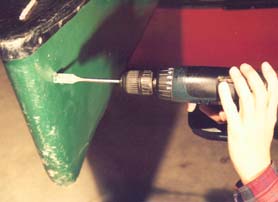 Figure B: Drilling a hole |
(4) Snap the stainless steel push-on ring into the furnished insertion tool, prongs facing towards the tool.
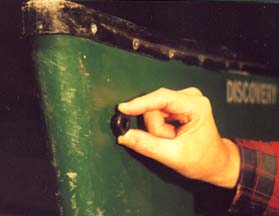 Figure C: Inserting TUGEYE |
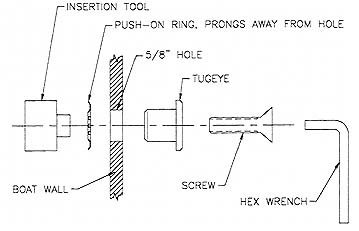 Assembly Cross-section |
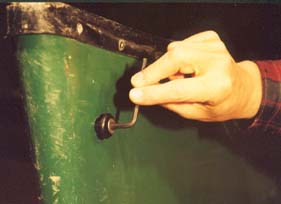 Figure D: Tightening with the hex wrench |
(8) Remove the insertion and screw. Repeat on the other side.
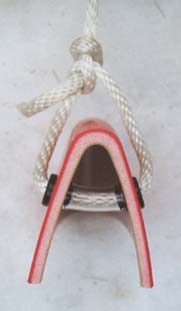 Figure E: Cut-away view |
WHAT ROPE TO USE?
We recommend using braided 3/8" polypropylene line in bright colors. It should float and have no knot on the free end (Heat the end with a flame to keep it from unraveling). We find a good length is 25' for general expedition and whitewater use. Longer lines are sometimes necessary for lining around large rocks and high cliffs however the rest of the time longer lines are a nuisance to keep orderly on your deck. An extra length can always be tied on for these instances. We recommend tying (as opposed to splicing) the painter through the TUGEYE with a bowline knot. This allows for removing the painter so that the rope may be used for other purposes or the rope exchanged for a longer length as conditions dictate. With the TUGEYE the rope slips through the hole freely and can be removed easily.